

I’ve written this guide mainly because I had just a little bit of trouble figuring out the FDS Stick, I’ll try keep it short.
Long story short, I expected it to be as easy as plugging it in, a folder pops up, drag games to folder and plug into the RAM Cart and off you go…
Adding Games:
Plug in the FDS Stick and run the software, it should look like this: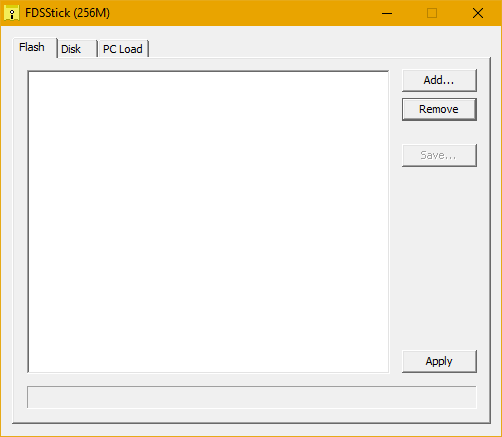
If you see “not connected” where the “256M” is, plug your FDS Stick into a different USB Port, click Disk, then click back to Flash.
Click “Add…” then browse to the folder you store your FDS game backups and select a game, you should see something like: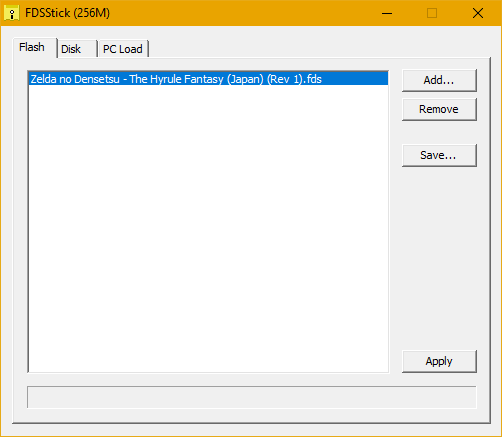
You MUST click “Apply” for this game to be written to the FDS Stick, if you do not and take the FDS stick out of the port, nothing will have changed.
Likewise, if you click “Remove” on a game you MUST click “Apply” for it to take effect.
Once you hit “Apply” and the progress bar fills up you are good to go! Unplug your FDS Stick from your PC and plug it into the Famicom RAM
Cart: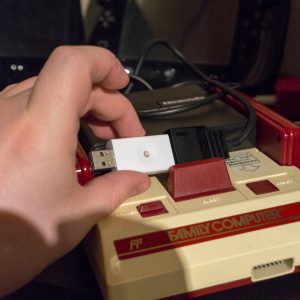
It is important to keep it accessible as you will need to use the button.
If you add just one game, the FDS will boot straight into it.
However, if you add more than one game, you will be presented with a game list:
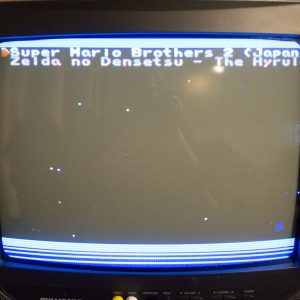
From here, simply select the game you wish to play and it will boot up.
Some game require loading both “sides” of the Game Disc into RAM before you can play, Zelda is one such title, so when you boot it up you get this screen:
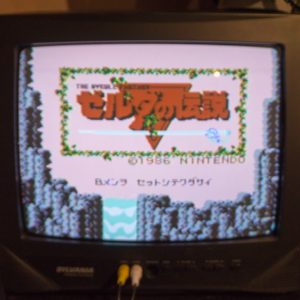
The Japanese text under the Zelda logo is asking you to insert “Side B” of the Game Card, this is where our button comes in handy.
One click of the button changes the loaded Game Card to “Side A”
Two clicks of the button changes the loaded Game Card to “Side B”
Holding the button ejects the Game Card.
It is important to remember that the FDS Stick is a Famicom Disk Reader Emulator, the games are not modified in any way, and still wait for the hardware signals that tell it the Game Card has been ejected, turned over and reinserted.
It is also important to note that if you are already on “Side A” and you press the button once, it will read as you having ejected the Game Card, turned it to “Side A” and reinserted it.
It does not retain any contextual awareness of what side was previously inserted, so if like me, you though, just pressing the button once would “flip the disk” you are wrong!
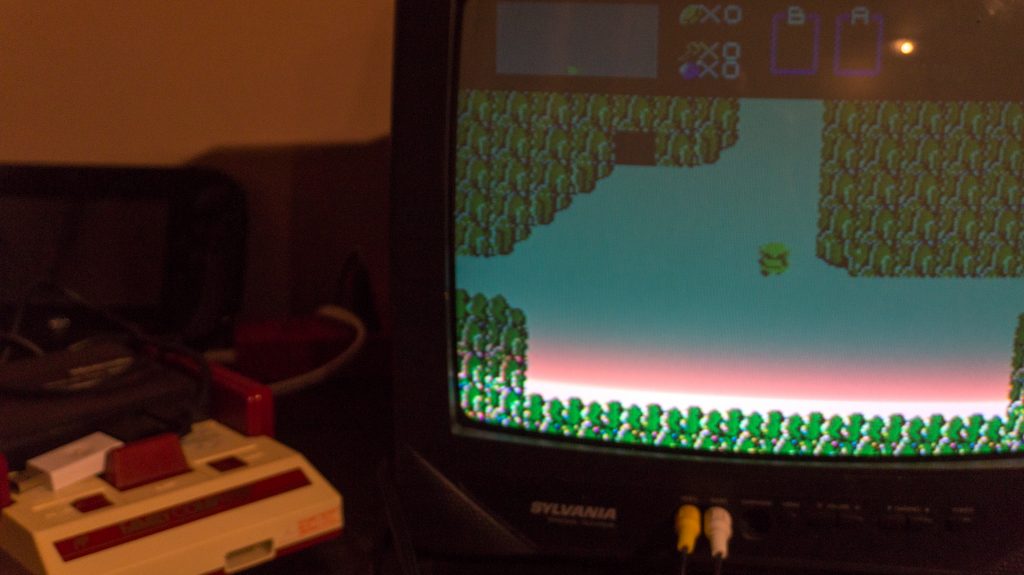
Anyways, with this knowledge, when you are at the above screen in Zelda, simply press the button twice and you will be greeted with a black screen that says “Loading” and eventually you will end up here: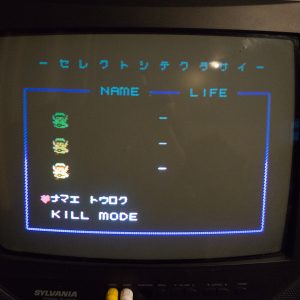
Have Fun!
Potential Issue:
One thing I have noticed is that there is no way to Load “Side B” first. For instance, Super Mario Bros. 2 is entirely on “Side A”, however, “Side B” contains a whole other game, Volleyball. In a regular FDS Drive, you would just load “Side B” facing up and it would boot straight into Volleyball.
If you have any questions please contact me on twitter!