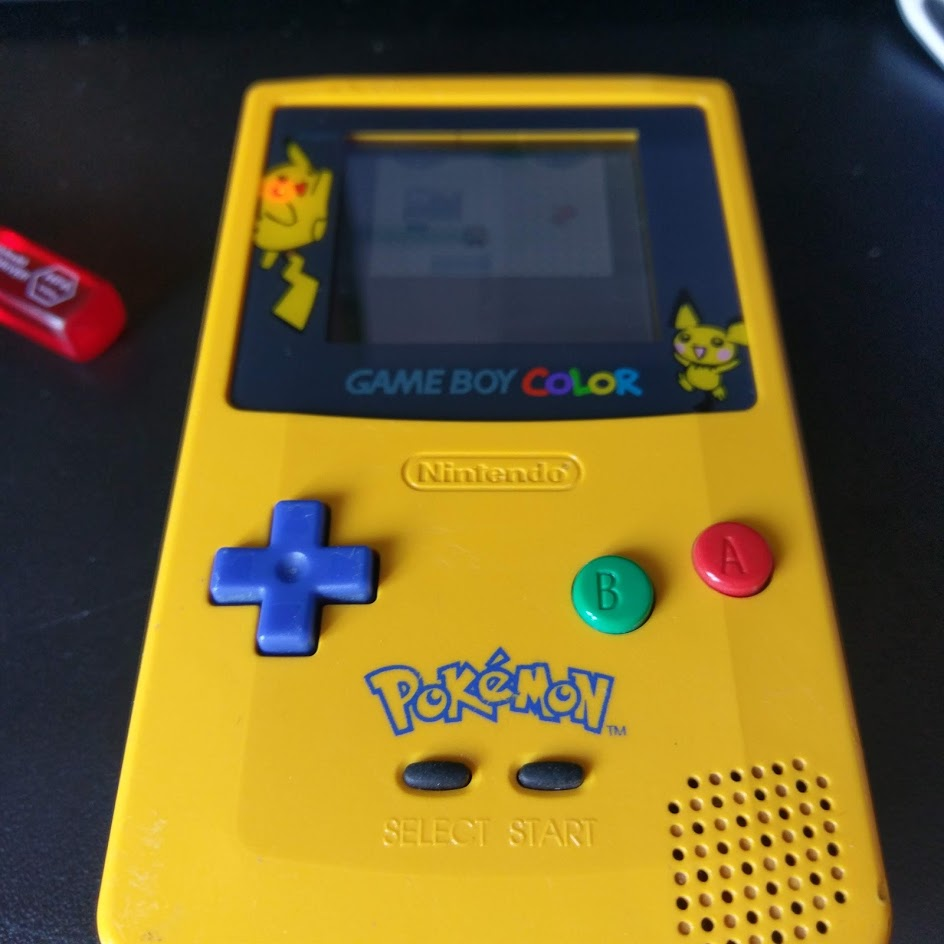
 squishy and soft, nothing we can’t fix though and we can give it a little bit of a clean too.
First things first, you need:
- A tri point screwdriver (for opening Nintendo consoles)
- A small philips head screwdriver
- Isopropyl alcohol + cotton buds (ask in your local pharmacy)
- Isopropyl alcohol wipes (ask in a hardware store)
- New screen lens
- New button silicone contacts
I got my Screen Lens and Button bits from Deadpan Robot they arrived super quick and they look and feel great.
First up is to take any game you might have out of the Game Boy Color, then remove the battery cover and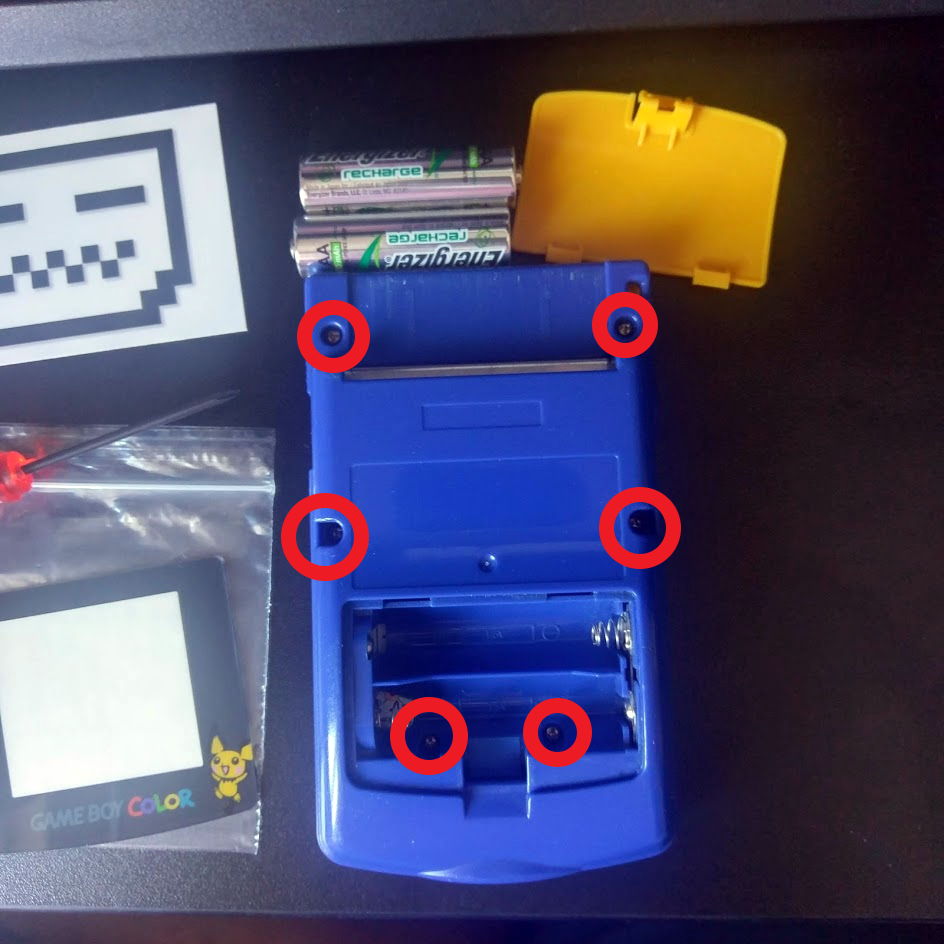 any batteries. The six screws you see on the back require the Nintendo tri point screwdriver, remove them and set aside.
Gently lift the back plate up, the left battery contact is attached to the main PCB and slots out of the plate as you lift it up.
With the back of the Game Boy Color PCB exposed, it’s a good opportunity to clean the seam around the Game Boy, get really into the crease all around it, it’s got some gunk there, guaranteed.
 Other gunk magnets are the link cable port, the volume dial, the headphone port and the power switch. Gently rub away any dirt, use a cotton bud + isopropyl alcohol to clean the audio jack and link cable port.
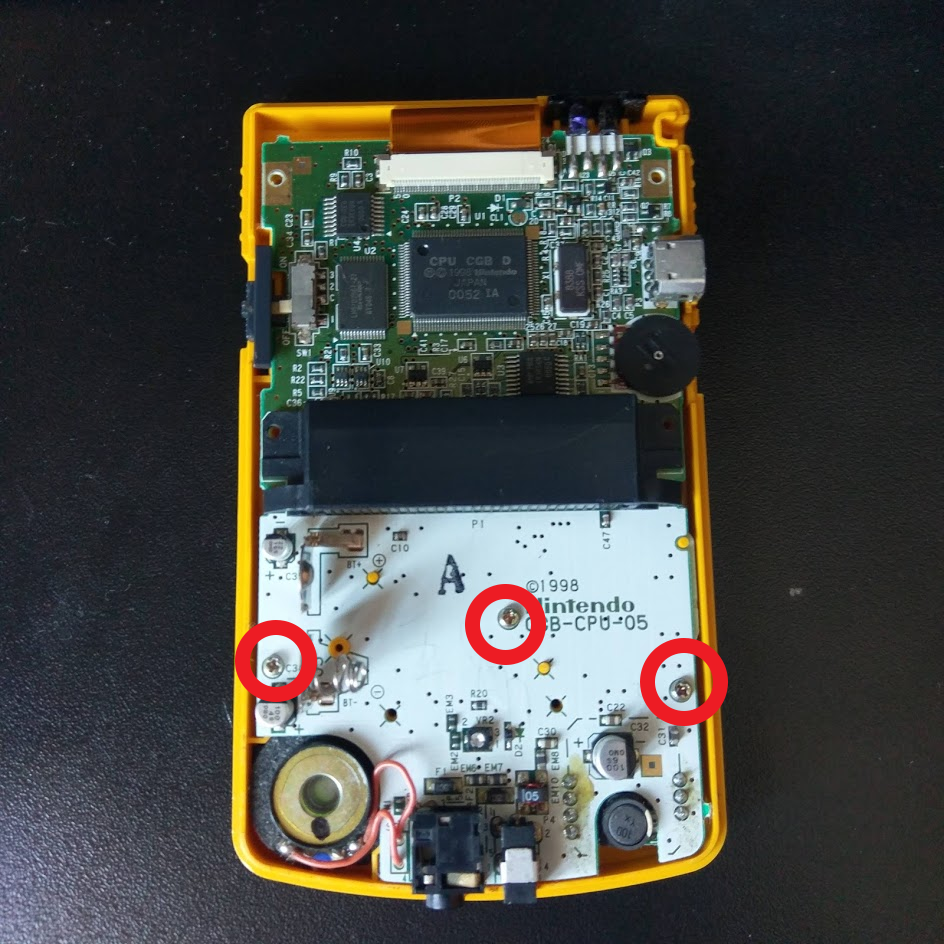
We need to get under this PCB to get at the screen and buttons, using the philips head screwdriver, unscrew the three screws holding it in.
Gently lift the PCB out, being aware that the screen is held in place with a light adhesive and is attached to the PCB by a ribbon cable.
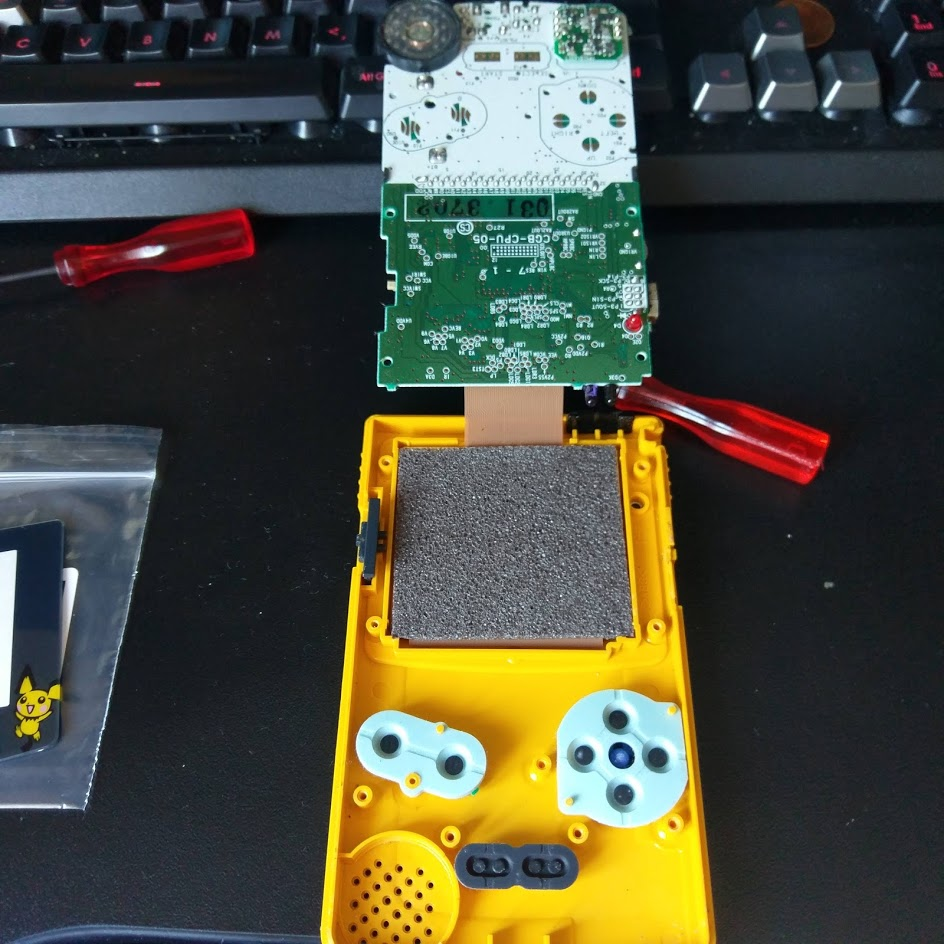 Underneath the PCB you will find three silicone button pads, you should remove these and, if you are replacing them, throw them out, or, if you are cleaning them, rub the little black contacts with some isopropyl alcohol, but be sure to flip them over for a clean as I guarantee they are covered in gunk!
While you’re at it, clear any other dust, it tends to gather around the bottom where the audio jack and speaker holes are, also check the speaker itself, the plastic film should also be pretty dusty.
Take the buttons out and get an alcohol wipe in there and give it a good scrub, things tend to get especially gross in there!
 Removing the screen is very simple, you just have to be careful, ideally you’d use a plastic “spudger” to gently lift it away from the adhesive, but I used a sharp pokey tool on the four corners and very gently lifted, it sounds bad, but its just the screen coming away from the adhesive edges.
Once the screen is loose, gently lift it out and place it somewhere flat, and that you will not be able to accidentally scratch or otherwise damage it.
 We need to remove the old lens, it’s held on by some pretty strong adhesive, so if you care about keeping it, use your fingers and gently apply force along the top two corners. Again you will hear a pretty “plastic getting mangled” sound, but it’s just the sound of the screen lens coming away from the adhesive. If you don’t care about the old lens, get a screwdriver or something pokey and push the screen lens from the LED light hole, it requires much less pressure to get it to budge.
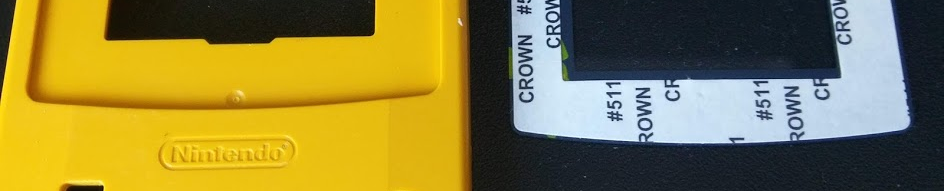
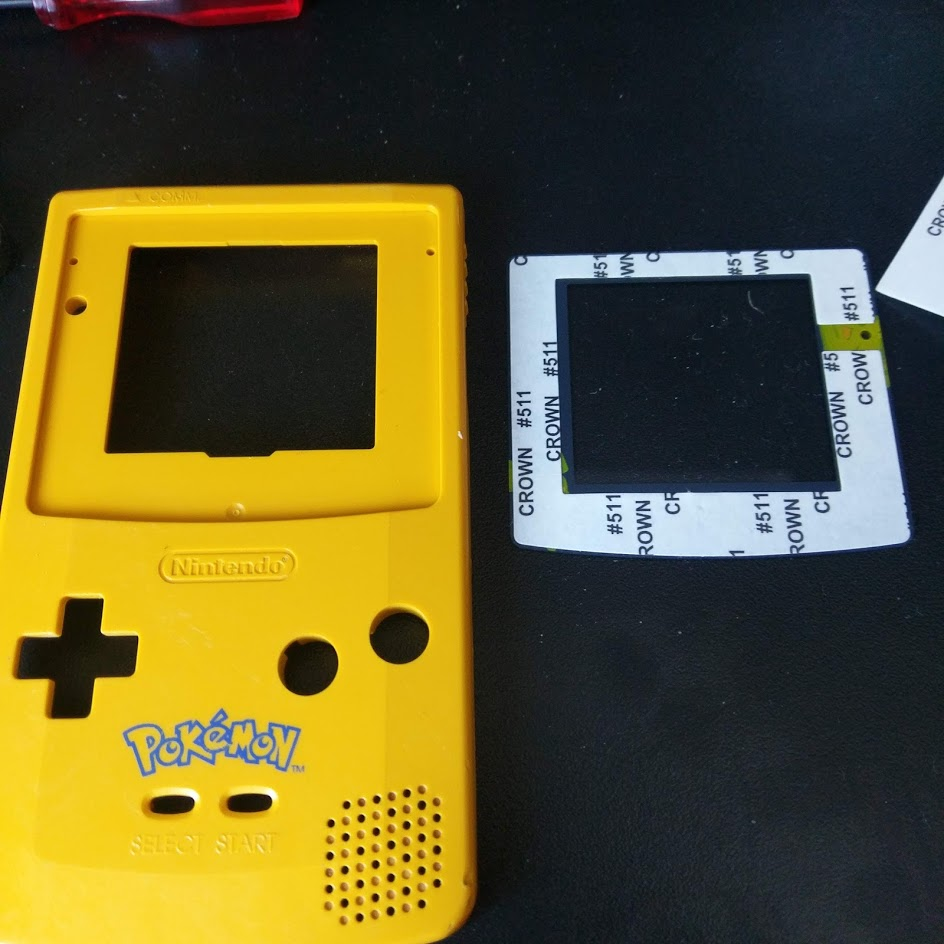 Time for some more cleaning! Flip the Game Boy Color over, and start cleaning gunk out from the edges of where that screen lens sat. Prepare the new screen lens, to save yourself a headache, do not take off the back screen lens protector until you absolutely have to, if you get a finger print on the back, you’ll be staring at it forever. Pull the adhesive strip off the screen lens and sit it into the recess where the old one used to sit. Gently apply pressure all around the edges using your thumbs.
The only important part now, is gently reinserting the LCD screen, but before you apply pressure to it, while it’s seated back in it’s place, turn the Game Boy Color over and make sure you line it up in a nice way, as it’s not a 100% perfect fit.
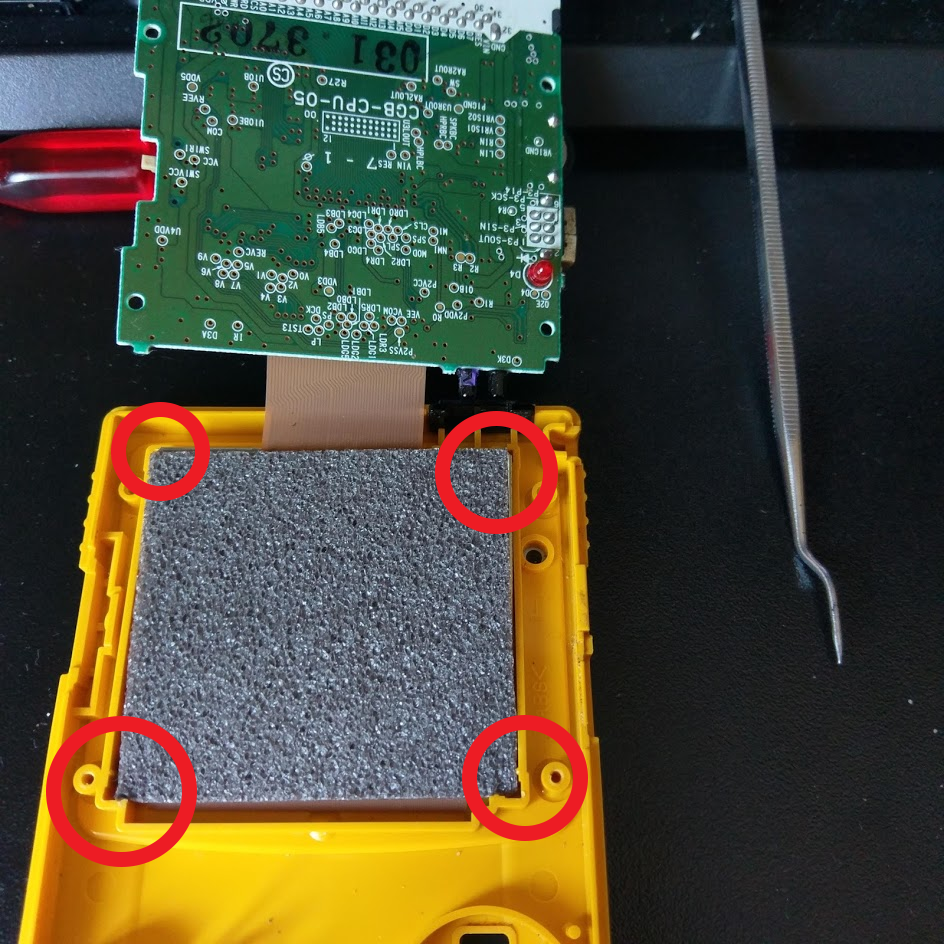
Make sure you put the silicone buttons contacts back on, lay the PCB board in place, at take note of the non screw holes in the PCB, there are plastic pegs, sticking up from the faceplate that sit back into these, they are a little tricky to realign if you are not paying attention to them and it’ll make the DPAD feel weird if not lined up right!
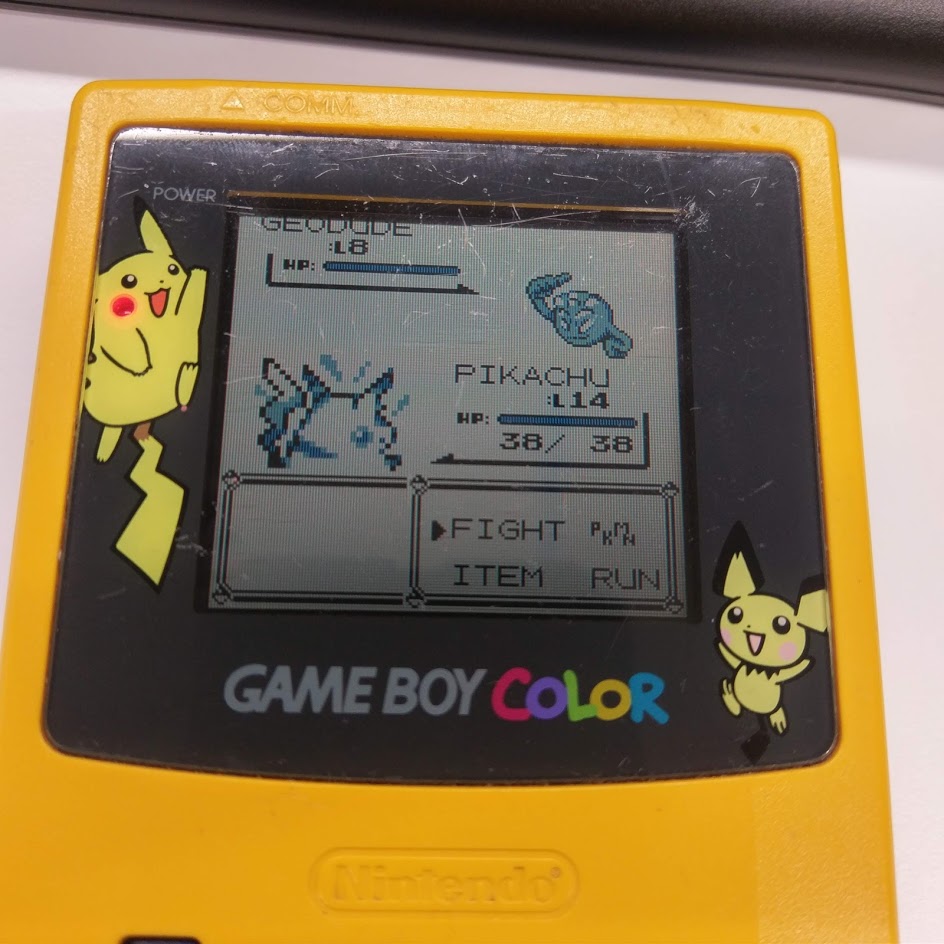
Screw everything back in, remember that battery contact! It slips through the backplate, so don’t force it. Pop in a game and enjoy the perfect screen and those super satisfying unused buttons!